It’s that time of year again; the annual Christmas craft post where I release my inner Pinterest Queen and create something I have zero expertise in in the vague hope I can pass it off as being more seasonal success than Christ-mess.
Following on from my previous offerings of DIY Christmas Jars and DIY Gingerbread Man Bunting I present you with this: a DIY Christmas Wreath. I was contacted by the nice people at Turtle Mat who asked if I’d be interested in partaking in a wreath making competition. Before rational Charli had spoken, inner Pinterest Queen had already agreed (she’s so eager) and so several weeks later I was sent everything I needed to, in theory, make the wreath dream a reality.
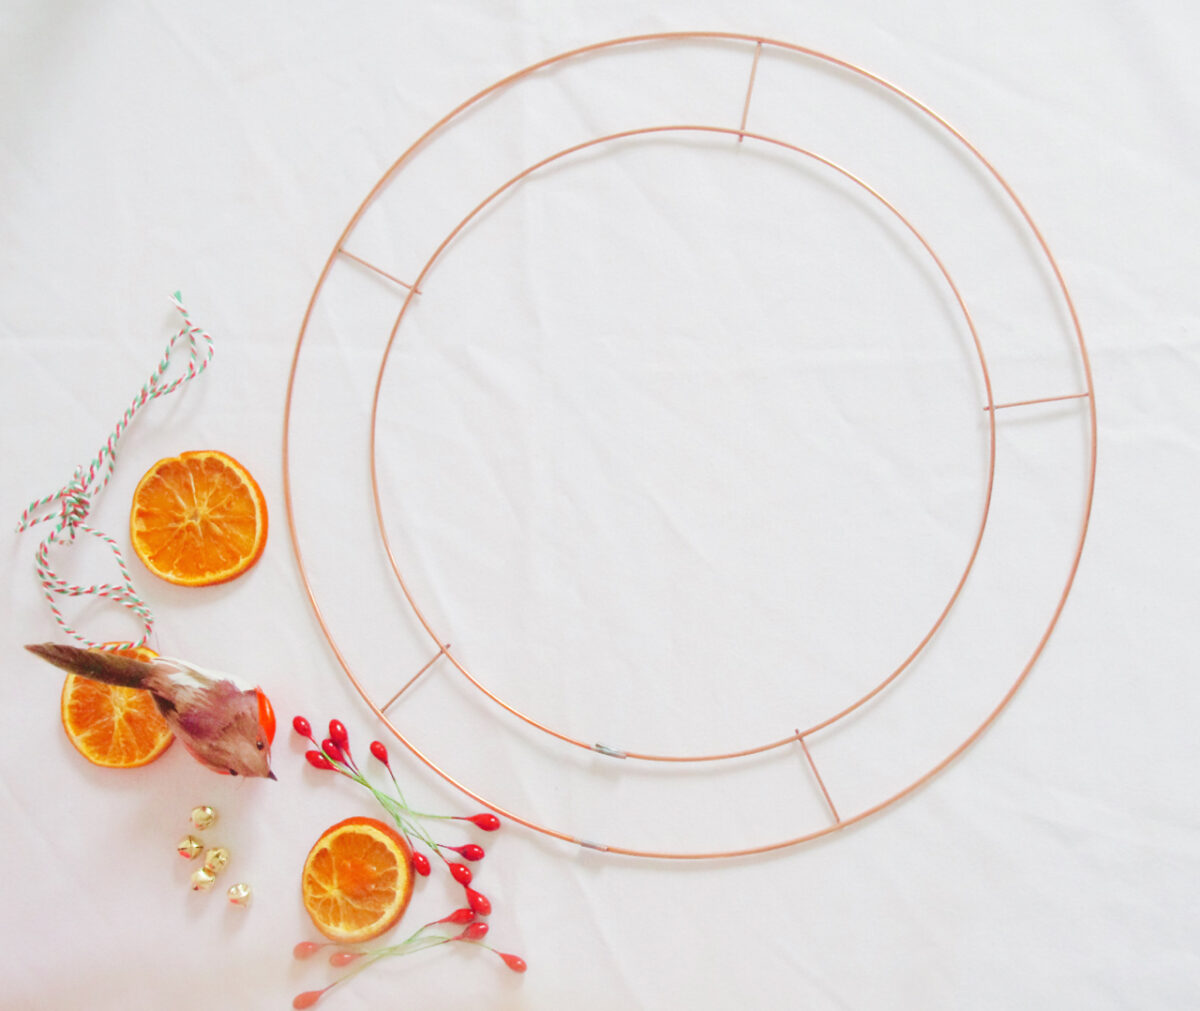 I stared blankly at the above for a good few days before putting the also included Amazon voucher to use to purchase additional supplies.
 Having stalked every DIY wreath on the internet for inspiration I knew I wanted to do something a bit different and stay away from the traditional leafy green affair. Namely because I already have one hanging on a door and also because Turtle Mat had armed me with a glue gun which therefore meant I was unstoppable.

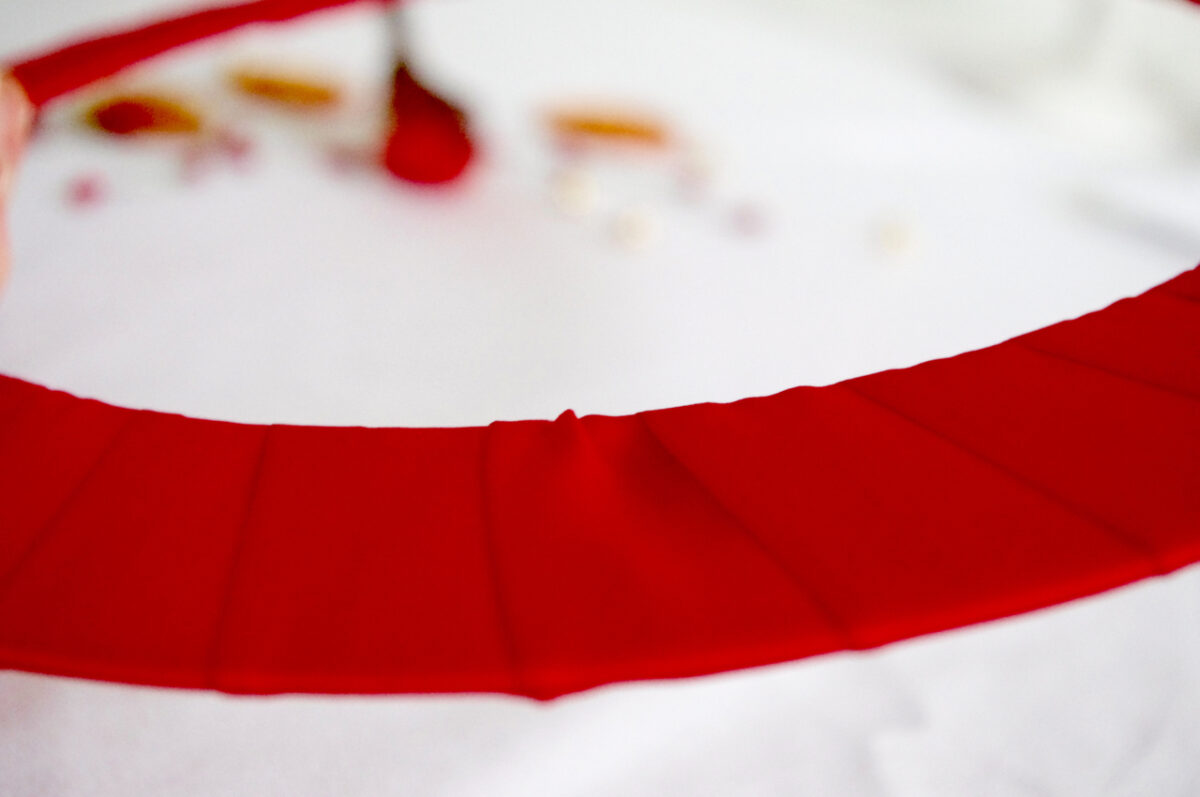
 I chose to make the inner focus of the wreath a Christmas tree and wanted to choose some bright colours to make it pop around the edge. I love festive candy canes and so decided to create a red/white candy stripe effect by wrapping ribbon around the frame of the wreath. No-one enjoyed making this task take that bit longer than Persephone the cat, who ran towards this ribbon faster than she has ever moved for anything in her life and proceeded to give it her own clawed effect all in the name of, erm, art.


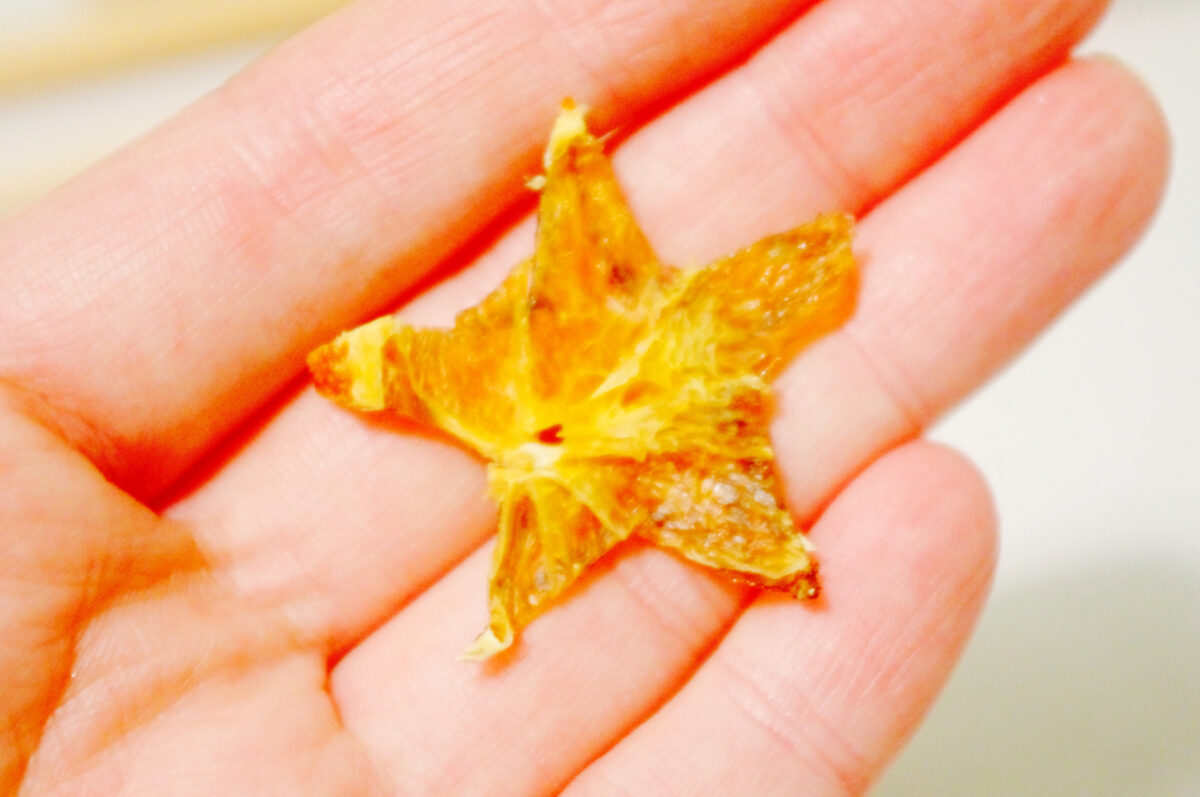

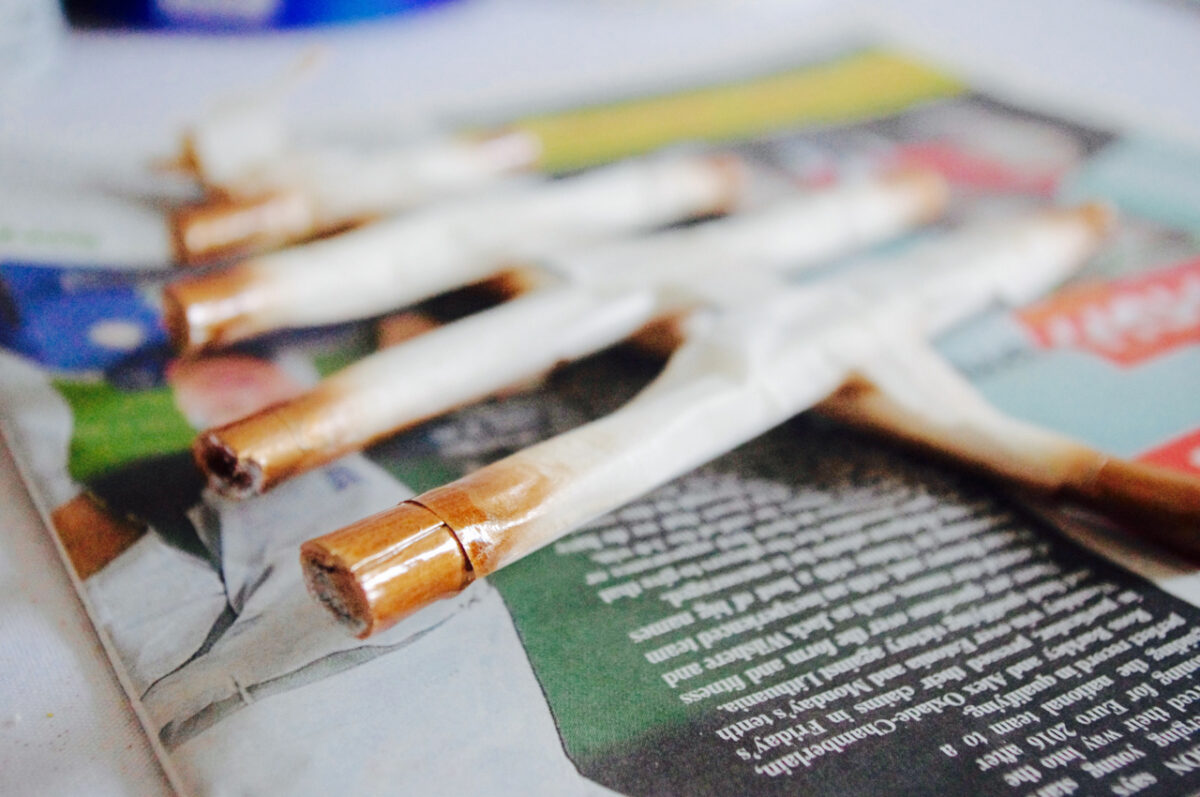 Still keen to incorporate nature, I sourced some bamboo from the garden to make the tree frame with and painted it white with copper tinged edges to try and suggest something along the lines of “contemporary snow scene.” Using one of the dried orange slices from the original kit I cut out a star for the top and coated it in gold glitter. Because glitter.
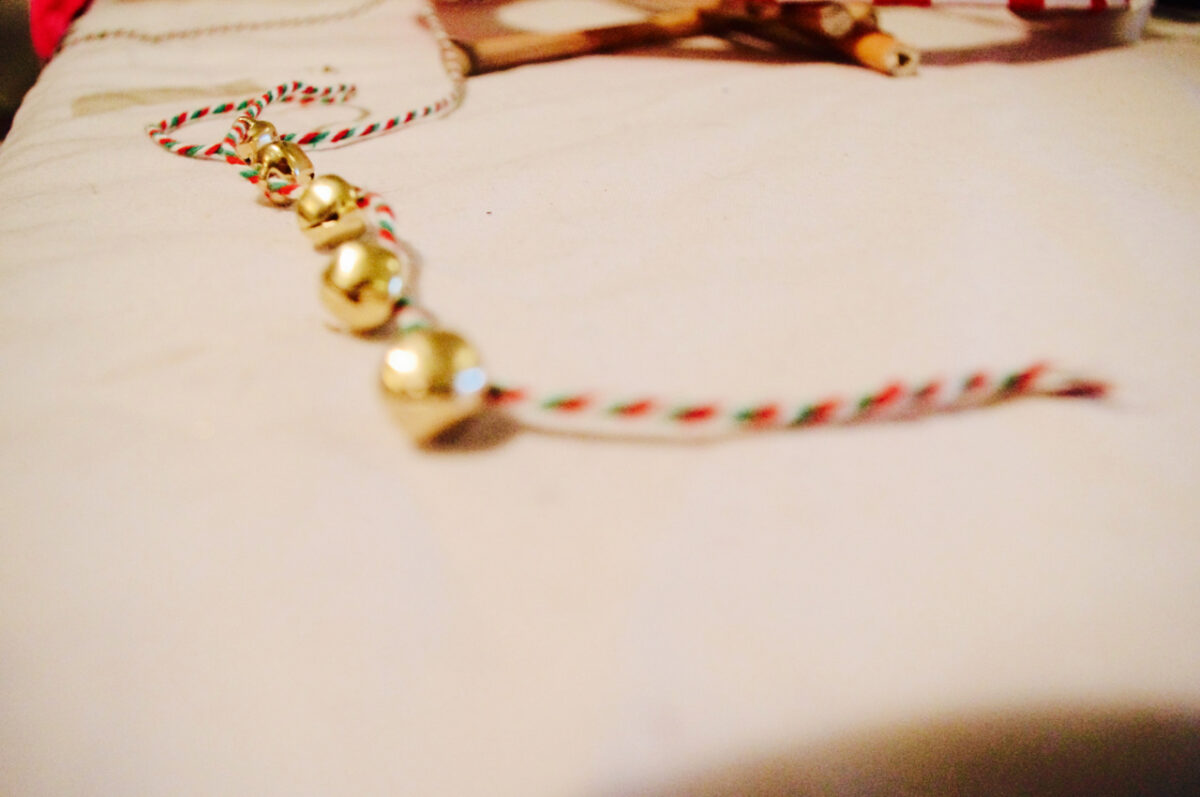

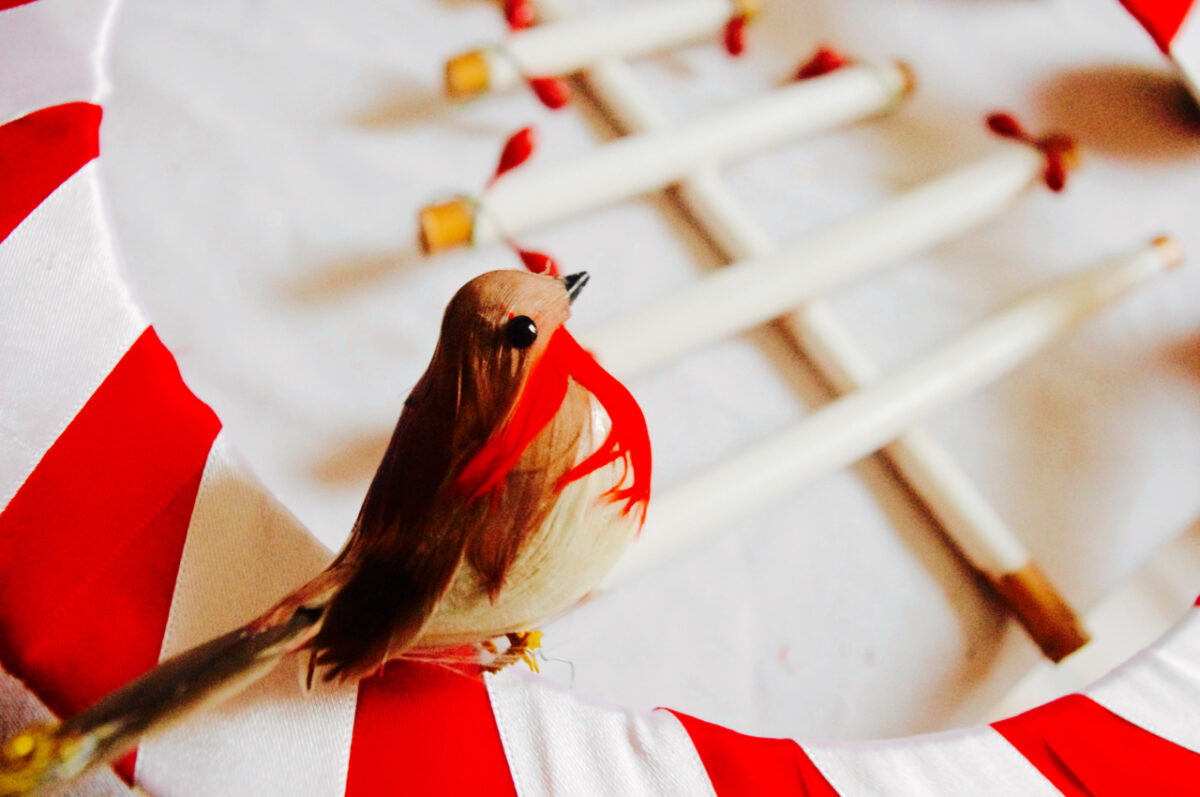
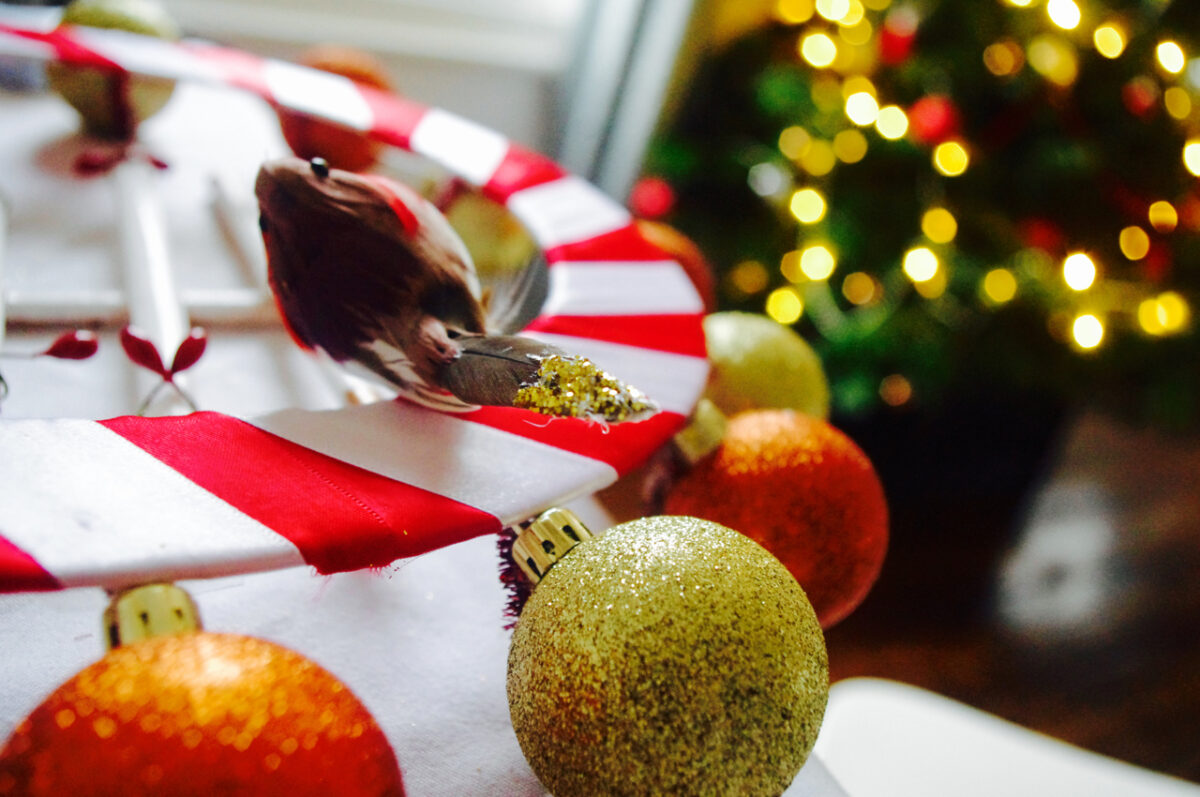 Using the bells and string that came with the kit I created a jingle bell bunting to string across the corner. The time also came to incorporate the adorable Robin (but not before he too had been dipped in glitter. Again- “art”) and use the red berries to tie to the ends of my tree branches. At this point I decided to adorn the wreath in copper baubles because I felt like it tied the red, white and copper colour scheme together and made more of a statement when hung on a white wall. The baubles could easily be omitted though for a more toned down finish. I affixed them using pipe cleaners which I glued to the structure to keep the baubles taut. To keep the tree in place I sewed it with thread at the top and the bottom- my original idea of gluing it didn’t quite come to fruition but this seemed like a good solution and ensured it stayed as centred as possible.


 And there you have it- one finished Merry And Bright Christmas Wreath. A perfect pop of colour for the most wonderful time of the year.


Your Christmas wreath is so cute!! I love the little bird!
http://thecourtneydiaries.com